Want to give your room a glow-up without a full renovation? Installing LED strip lights is one of the easiest and most affordable ways to upgrade your space, whether it’s under kitchen cabinets, behind your TV, or along your ceiling for subtle accent lighting.
With just a few tools and the right setup, you can go from basic to beautiful in less than an afternoon. This guide will walk you through exactly how to install LED strip lights, what you’ll need to get started, and how to avoid the most common mistakes.
If you’re looking for high-quality, dot-free results, The Accent Light offers premium. COB LED strip lights, complete LED lighting kits, and aluminum channels to help you achieve a clean, seamless look—no flickering or patchy brightness here.
How to Plan Your LED Strip Light Installation
Before you peel and stick anything, planning is everything. A little prep now means a cleaner, easier installation—and better lighting results later.
1. Choose Where You Want Accent Lighting
Start by identifying where LED strip lights will make the most impact. Popular spots include:
- Under kitchen cabinets for task lighting
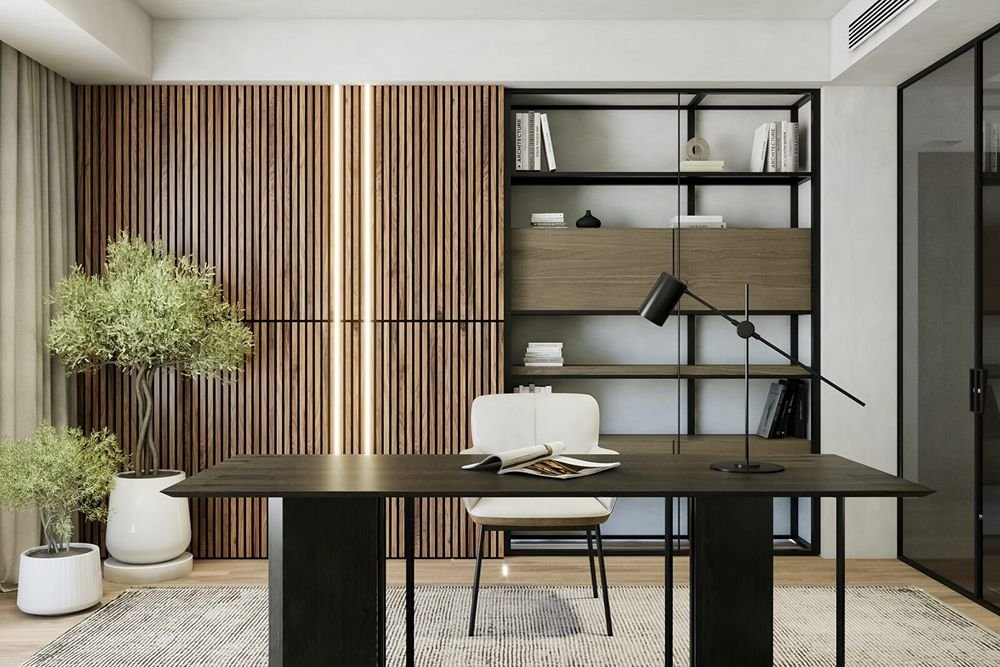
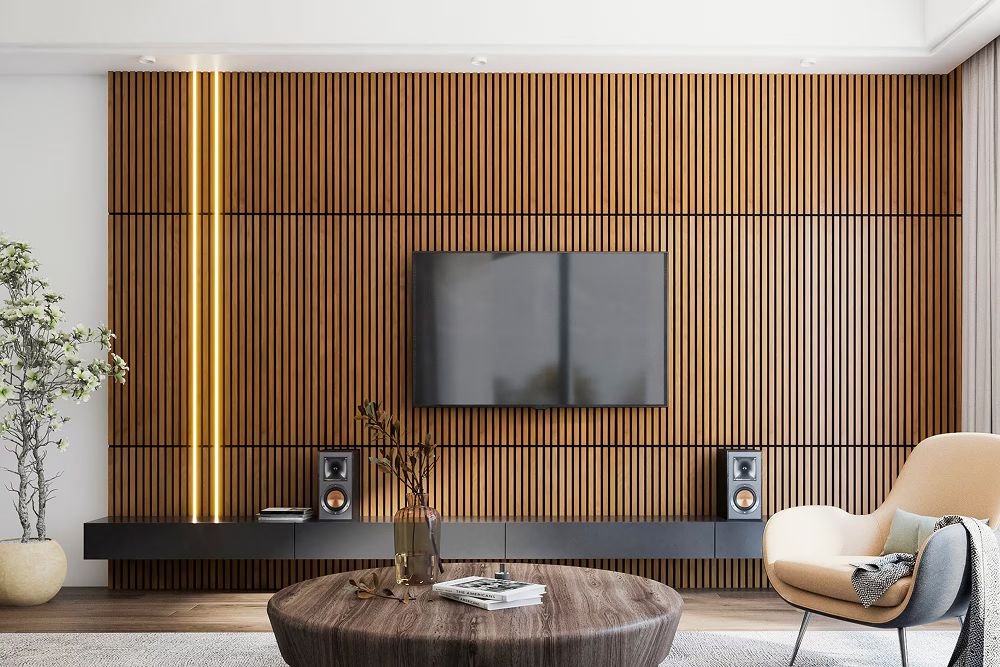
- Behind TVs or monitors for ambient backlighting
- Along ceiling coves or baseboards for indirect glow
- Inside shelves or display cases to highlight décor
The goal? Create soft, functional light that adds depth, not glare.
2. Measure Your Space Accurately
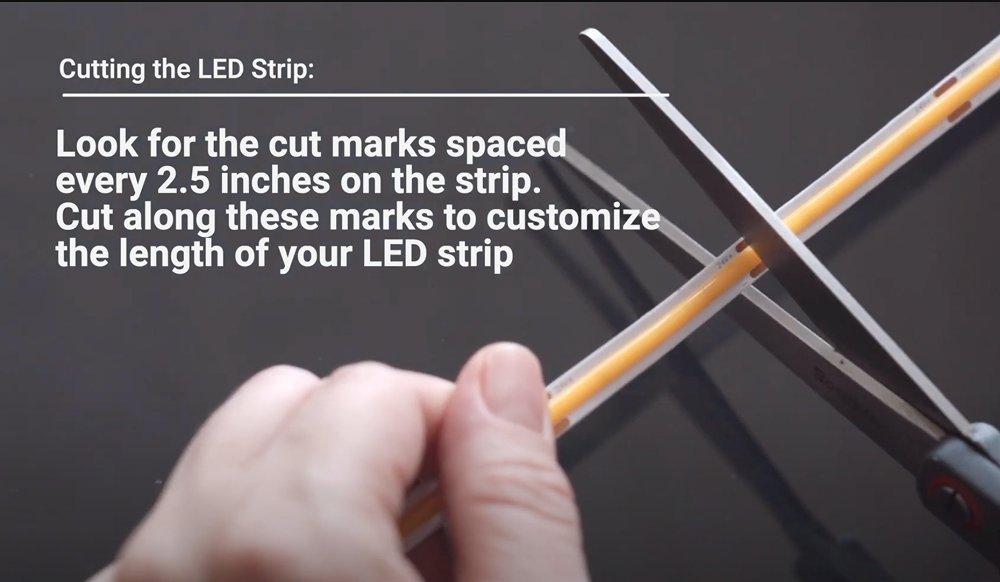
Use a tape measure to calculate the total length of LED strip you’ll need. It’s better to measure a little extra—you can always trim it down, especially when working with COB LED strip lights, which are designed with convenient cut-to-length intervals for precise customization.
If your layout includes corners or curves, a simple trick is to lay a piece of string along the surface first, then measure the string to get an accurate length.
3. Choose the Right LED Strip Lights
Not all LED strips are created equal. For a smooth, seamless glow, go for COB LED strip lights—they don’t have the visible dots you’ll find on traditional strip lights.
You’ll also want to match your lighting vibe:
- Single color for clean, consistent lighting
- Tunable white (CCT) if you want to control warmth and brightness
- RGB for colorful, customizable effects
If you’re not sure where to start, The Accent Light offers an easy-to-install. LED lighting kits with everything included—no guesswork.
Tools and LED Lighting Kits You’ll Need Before Installation
Before you dive into the installation process, gather everything you need to make the job smooth and frustration-free. Having the right tools—and a complete lighting kit—makes all the difference between a clean setup and a cluttered mess.
Tools You’ll Need
- Measuring tape – for accurate strip length and placement
- Pencil or painter’s tape – to mark layout positions
- Scissors or utility knife – to trim strips (at marked cut points only)
- Rubbing alcohol + cloth – for cleaning mounting surfaces
- Optional: Screwdriver or drill – for mounting clips or aluminum channels
LED Lighting Components
You’ll need a few key parts to power and secure your strip lights. The easiest way to get these? Grab a complete LED lighting kit, like those from The Accent Light, which include:
- COB LED strip lights
- Power supply (matched to strip wattage and voltage)
- Dimmable driver remote (for flicker-free brightness control)
- LED lighting controller (for tuning color or brightness)
- Connectors and extensions (to bridge gaps or make turns)
Everything’s designed to work together, saving you the guesswork.
Optional but Recommended
- Aluminum channels – for a polished, professional finish and better heat dissipation
- Mounting clips – extra hold for longer runs or uneven surfaces
How to Install LED Strip Lights Step by Step
Now that you’ve got your space measured and your tools ready, it’s time to install. Whether you’re lighting up your kitchen, a shelf, or behind the TV, these steps will walk you through how to install LED strip lights with clean results and minimal hassle.
Step 1: Clean the Mounting Surface
Dust, grease, or moisture will weaken the adhesive, so this step is non-negotiable.
- Wipe down the area with rubbing alcohol and let it dry completely.
- Avoid household cleaners, which can leave residue.
Tip: For long-term hold, especially on textured or porous surfaces, use mounting clips or aluminum channels.
Step 2: Measure and Cut LED Strip Lights
Measure the length you need, then cut only at the marked copper cut lines on the strip. Cutting elsewhere can damage the strip or kill the circuit.
- Use sharp scissors or a utility knife.
- For tricky runs (like corners), consider using connectors or flexible strip segments.
If you’re using COB LED strip lights from The Accent Light, expect ultra-precise cutting options and seamless, dot-free illumination – even in tight spaces.
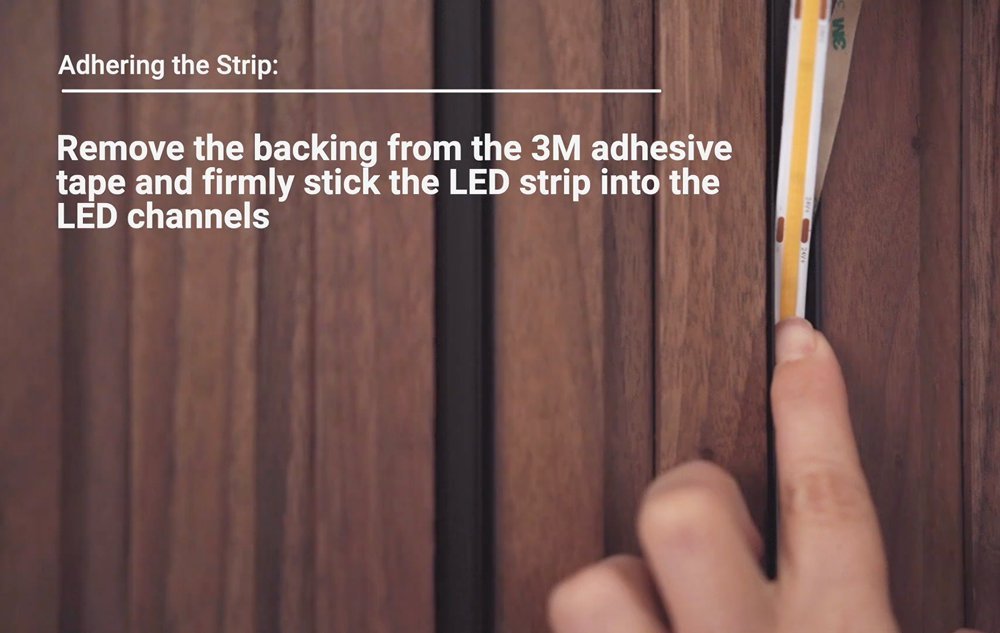
Step 3: Mount the LED Strip Lights
Peel off the adhesive backing and press the strip firmly onto the surface. Do it slowly, section by section, to avoid crooked lines or air bubbles.
- Use mounting clips for added hold, especially under cabinets or on vertical surfaces.
- If using aluminum channels, slide the strip into the channel before mounting.
Step 4: Connect the LED Strip to Power
Now it’s time to power up your lights. This is one of the most important steps to know how to install LED strip lights:
- Attach the strip to the power supply or dimmable driver, matching the voltage (usually 12V or 24V).
- Use connectors if you’re linking multiple strips.
- Double-check polarity: + connects to +, – to –.
The Accent Light’s lighting kits come with ETL-listed power supplies and drivers—safe, reliable, and built to last.

Step 5: Test the LED Strip Lights
Before finalizing anything, plug everything in and test:
- Check for uniform brightness.
- Try out any controller features (like dimming or color change).
- Make sure there’s no flicker or cut-out sections.
If something’s not lighting up, it’s often a simple issue with polarity or an incomplete connector snap.
Step 6: Hide Wires and Secure the Setup
Tidy up your install for that pro finish:
- Use cable clips or concealers to manage wires.
- Push excess strip length into corners or behind furniture.
- Double-check that nothing is under tension—loose wires can lead to wear and failure over time.
Mounting LED Strip Lights for Accent Effects in Different Spaces
LED strip lights are incredibly versatile. Once you know how to install LED strip lights, it’s easy to apply the same process to different parts of your home for a variety of accent effects. Here’s how to approach popular lighting locations and get the most out of your setup.
Under Cabinets
Under-cabinet lighting is one of the most functional and stylish uses of LED strip lights. It provides direct task lighting for cooking, cleaning, and food prep, while adding an elegant glow to your kitchen.
- Install the strip towards the front edge of the cabinet for full counter illumination.
- Use aluminum channels to diffuse the light evenly and hide wires for a clean finish.
- Connect strips to a dimmable driver if you want to control brightness for day and night settings.
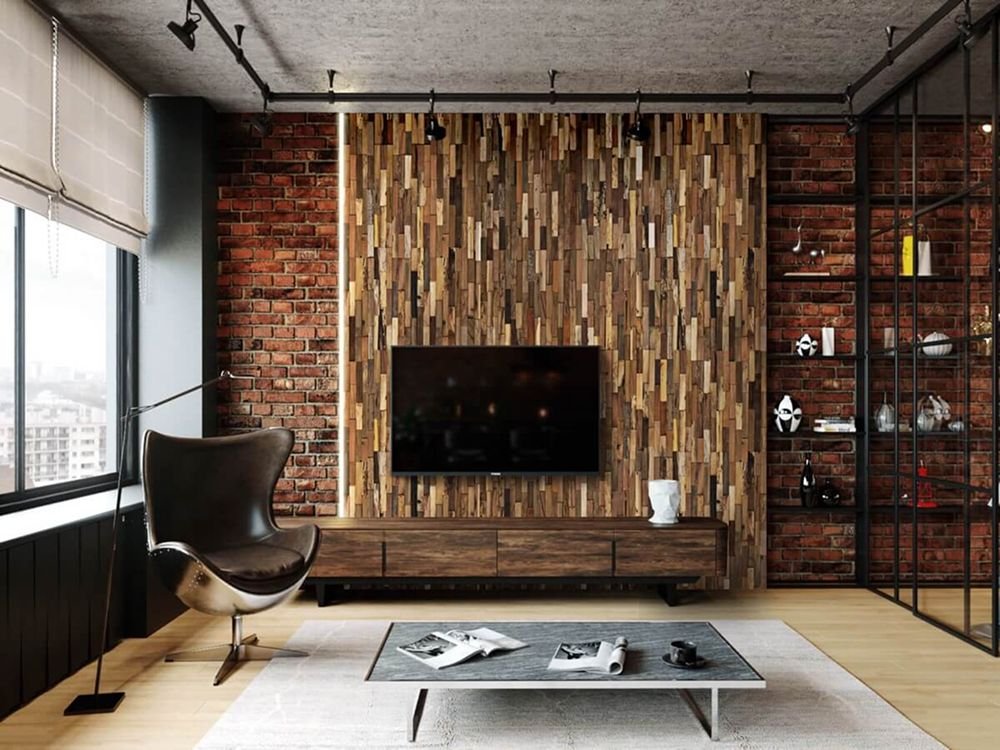
Behind TVs and Monitors
Placing LED strip lights behind your television adds a soft backlight that reduces eye strain and enhances contrast while watching.
- Measure and install strips along the top and sides of the TV’s back panel.
- Use flexible connectors to navigate corners.
- Plug into a USB port if your TV has one, or use a low-voltage power supply.
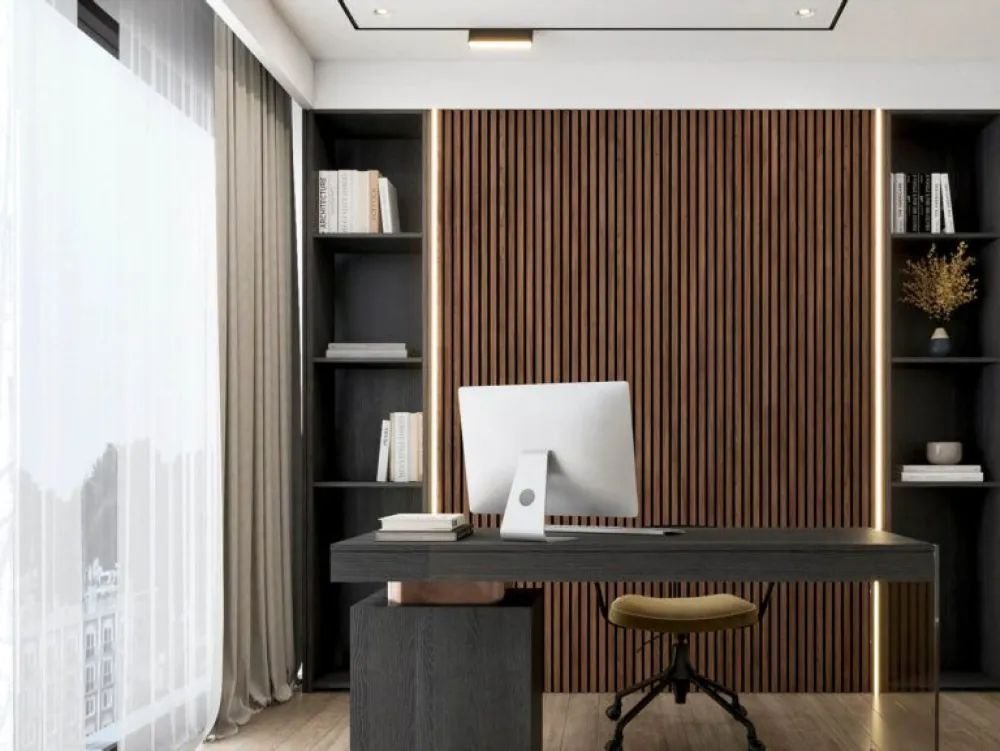
Ceiling and Wall Edges
Mounting LED strip lights along ceilings or walls creates a gentle ambient effect that adds depth and dimension to any room.
- Run the strip along ceiling coves or baseboards to wash walls with light.
- Make use of tunable white or RGB strips if you want to change the vibe depending on the time of day.
- Use mounting clips or recessed aluminum channels for a professional, built-in appearance.
When installed with care, these lighting effects can dramatically enhance the atmosphere in kitchens, living rooms, bedrooms, or home offices.
Avoid These Mistakes When Installing LED Strip Lights
Even though learning how to install LED strip lights is a fairly simple project, there are a few common pitfalls that can lead to frustration – or worse, wasted materials. Here’s what to watch out for, especially if you want your lighting to look clean and last a long time.
Skipping Surface Prep
Dusty or greasy surfaces are the number one reason adhesives fail. Always clean the mounting area thoroughly with rubbing alcohol and let it dry before sticking your strip in place.
Cutting in the Wrong Spot
LED strip lights should only be cut at clearly marked copper lines. Cutting anywhere else can break the internal circuit, making that section unusable.
If you’re using COB LED strip lights from The Accent Light, you’ll have more frequent and clearly labeled cut points, which gives you better flexibility.
Overloading the Power Supply
Using a power supply that’s too weak for your strip setup can cause dim lights, flickering, or even damage. Always match your strip’s voltage and wattage to the right power source. The safest choice? Use a lighting kit that includes a properly rated power supply.
Poor Heat Management
Although LED strips are energy-efficient, they still generate some heat. Mounting them in tight, poorly ventilated spaces or without aluminum channels can shorten their lifespan. Aluminum channels act as heat sinks and improve performance over time.
By avoiding these mistakes, your LED strip lighting will not only look better—it’ll last longer and perform more reliably.
Enhance Your LED Setup with Smart Controls and Accessories
Once you understand how to install LED strip lights, there’s still room to take things to the next level. With the right accessories and controls, you can fine-tune your lighting to match your mood, routine, or design vision.
Add a Dimmer or Controller
Using a dimmable driver allows you to easily adjust brightness based on the time of day or the room’s purpose.
- Dimmers are perfect for under-cabinet or bedroom lighting when you don’t want full brightness all the time.
- Controllers give you access to multiple settings – on/off functions, color changes (for RGB or tunable white), and even lighting effects.
The Accent Light offers LED lighting controllers that are compatible with a wide range of dimmable drivers, making it easy to find a setup that works for you.
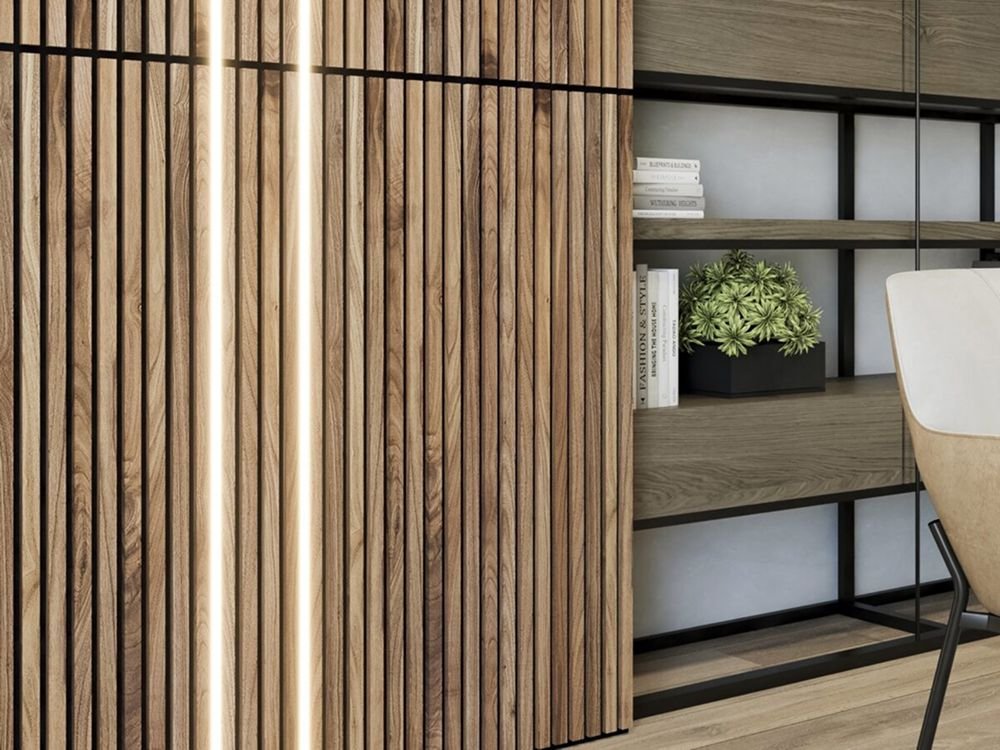
Use Aluminum Channels for a Sleek Finish
If you want your installation to look clean and professional, aluminum channels are a must.
- They help mount your strip lights in straight, uniform lines.
- They diffuse the light for a softer glow and better visual comfort.
- They also improve heat dissipation, which extends the life of your LEDs.
This is especially useful for visible installations like ceilings, open shelving, or display cases.
Consider Smart Home Integration
Some LED strip light systems are compatible with voice assistants or smart home hubs. With this setup, you can learn how to install LED strip lights and:
- Control lights with your voice or through an app.
- Set timers or routines.
- Adjust colors and brightness without touching a switch.
If you want that extra layer of convenience, be sure to choose a controller that supports smart features.
Upgrades like these can transform basic lighting into a system that feels personalized and effortlessly modern, without needing professional installation.
Final Thoughts
Learning how to install LED strip lights is one of the easiest ways to add warmth, style, and function to your space. Whether you’re lighting a kitchen, bedroom, or home office, a little planning and the right tools go a long way.
To get started, all you need is a good layout, clean surfaces, and the right gear. Using high-quality products – like COB LED strip lights, lighting kits, and aluminum channels from The Accent Light—you will know how to install LED strip lights, making the process smoother and your results more polished.
If you’re ready to upgrade your lighting, explore The Accent Light’s full range of easy-to-install, energy-efficient LED solutions made for homeowners, designers, and contractors alike.